
Fifteen checks, one October afternoon — catch small roof problems now, while they are still small, cheap fixes.
Fall in Chicagoland gives every roof a deadline. Summer storms have done their damage, leaves are about to fill every gutter and valley, and the first freeze-thaw cycles are weeks away. A problem that is a tube of sealant or a handful of shingles in October can be a ceiling stain, an ice dam, and a drywall repair in January.
That is what this checklist is for. Work through it from the ground and from the attic — no ladder-to-roof climbing required — and you will know exactly where your roof stands before winter. Anything you cannot reach, cannot see, or do not like the look of is a reason to book a professional inspection while the weather still allows easy repairs.
Why fall is the one season not to skip
- Summer storm wear is fresh. Wind-lifted shingles, hail nicks, and debris damage from July and August storms are easiest to spot — and fix — before snow covers them.
- Leaves are coming. Debris in valleys and gutters traps water against the roof. In a freeze, that trapped water becomes ice — the starting point for ice dams.
- Repairs set properly in mild weather. Sealants cure and shingles seal down best before sustained cold. The same repair attempted in January is slower, harder, and sometimes only temporary until spring.
- Roofers still have schedule room. October books up fast, but it is nothing like the January emergency-call rush after the first big thaw leak.
Start from the ground: the safe homeowner pass
Walk the property on a dry day with binoculars if you have them, and look at every slope from at least two angles. Morning or late-afternoon light rakes across the shingles and makes lifted, curled, or missing pieces much easier to see than midday sun. Photograph anything that looks off — dated photos are gold if you later call a roofer or an insurer.
Stay off the roof itself. Wet leaves, morning frost, and loose granules make fall roofs treacherous, and walking on shingles can damage them. Everything in the homeowner checklist below can be checked from the ground, from a ladder at the gutter line only, or from inside the attic.
The fall checklist: 15 checks in four groups
Shingles and the roof surface
- Missing, cracked, or slipped shingles. Any gap in the surface is an open door for wind-driven rain and for ice. Note the slope and roughly where the damage sits.
- Curling, cupping, or lifting edges. Shingles that no longer lie flat catch wind and let water run underneath. Widespread curling is an aging sign, not just a repair item.
- Bald spots and granules in the gutters. Shingle granules protect the asphalt from sun. Piles of granules at the downspout outlets mean the surface is wearing out faster than it should.
- Debris in valleys and against walls. Leaves and branches hold moisture against the shingles and slow drainage exactly where the roof handles the most water.
- Sagging or spongy-looking sections. A visible dip in a roof plane can point to weakened decking underneath. This one always earns a professional look.
Flashing, chimneys, skylights, and vents
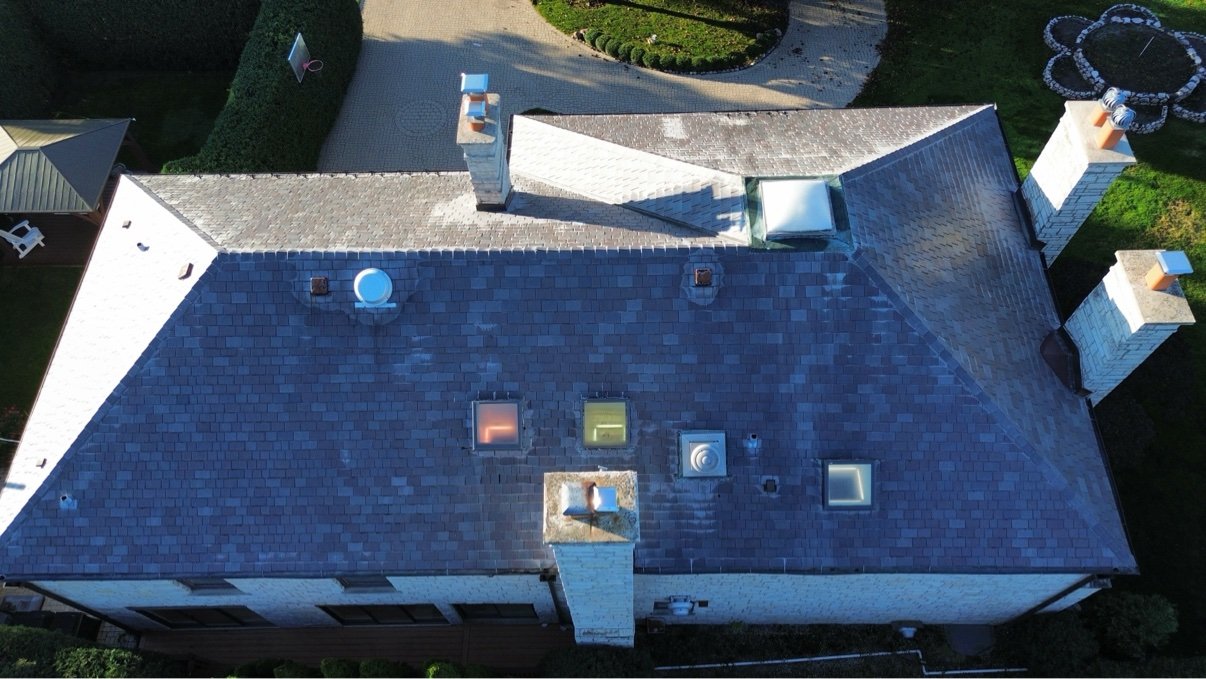
More leaks start at flashing than anywhere else on the roof. Flashing is the metal work that seals every place the roof meets something else — and fall is when its sealant and edges need a close look.
- Chimney and wall flashing. Look for metal that is lifting, rusting, or pulling away, and for cracked or missing sealant along the top edge.
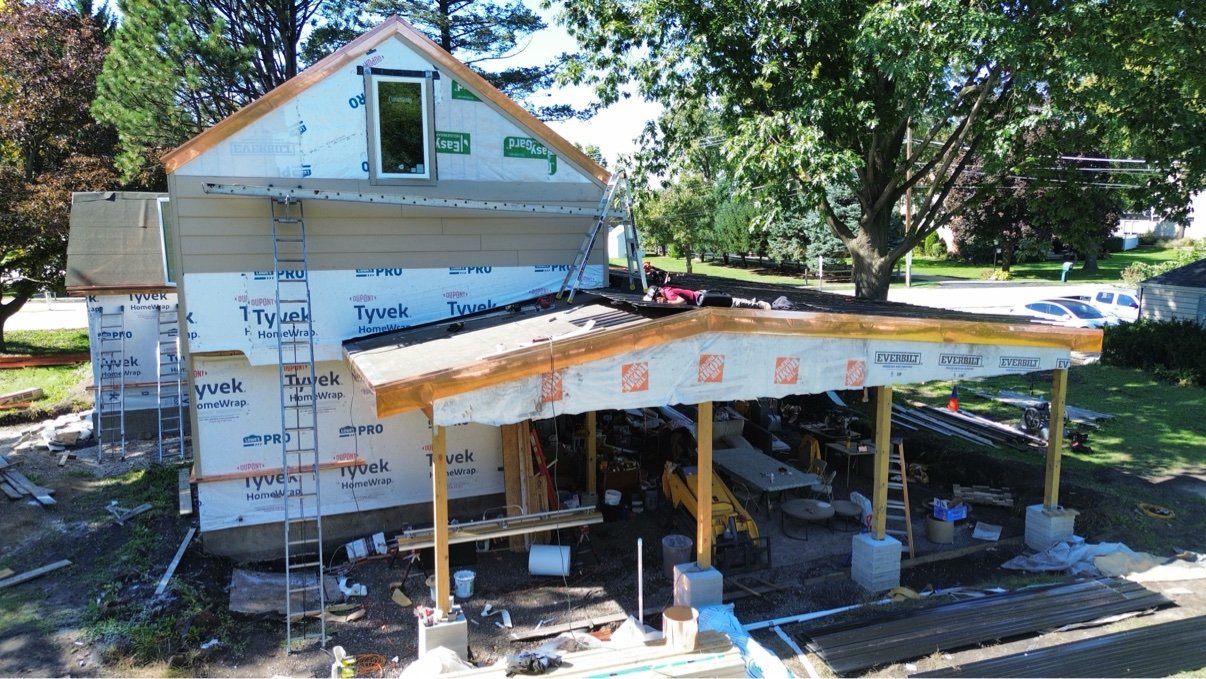
- Skylight and vent seals. Check the flashing kits around skylights and the rubber boots around plumbing vents. Cracked, split vent boots are one of the most common — and cheapest to fix — leak sources on an otherwise good roof.
Gutters, downspouts, and the roof edge
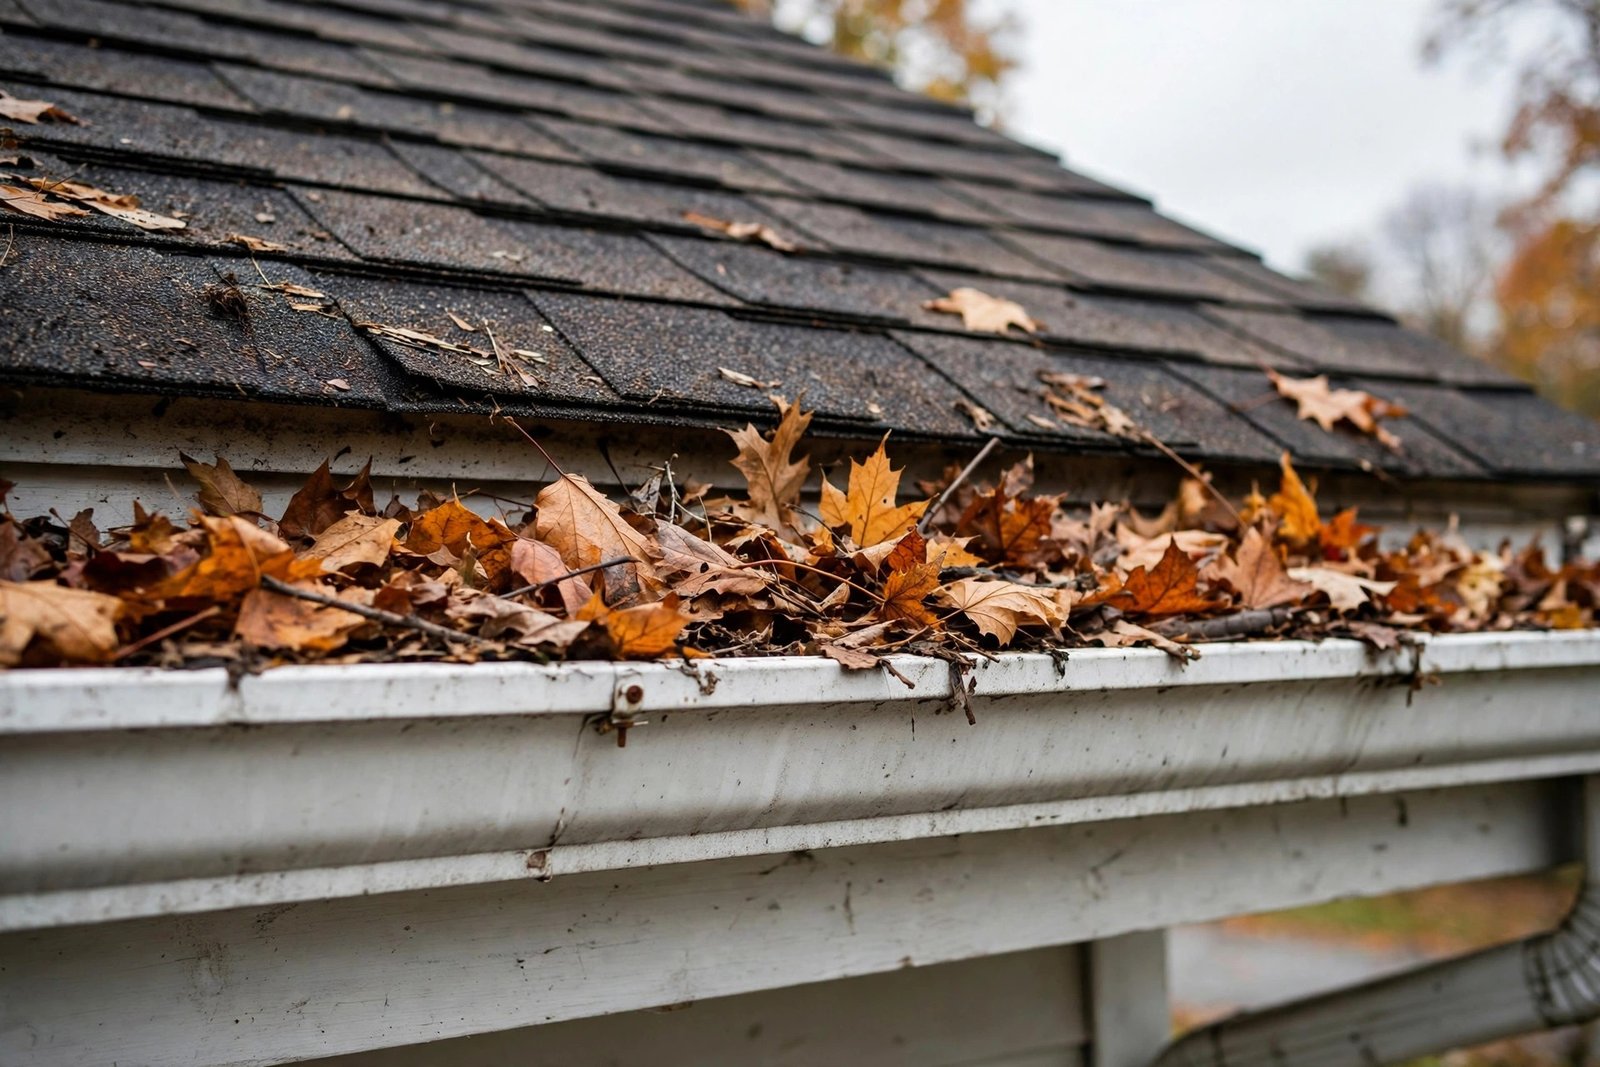
- Clean gutters after the leaves are down. A late-fall cleaning is the single easiest ice-dam prevention step a homeowner can take. Water that cannot drain will freeze in place.
- Firm fastening and proper slope. Gutters should sit tight to the fascia and slope toward the downspouts. Standing water in a gutter, or a gutter pulling away, means both need attention before ice weight makes it worse.
- Downspouts clear and extended. Downspouts should run free and carry water well away from the foundation — not dump it at the base of the wall, where it feeds basement moisture and freeze damage.
- Drip edge and fascia at the eaves. The eaves are where ice dams attack first. Look for rotted fascia, peeling paint, or water staining under the roof edge.
The attic: insulation, ventilation, and interior signs
The last group is checked from inside, with a flashlight, through the attic hatch. What happens in the attic decides how the roof behaves all winter.
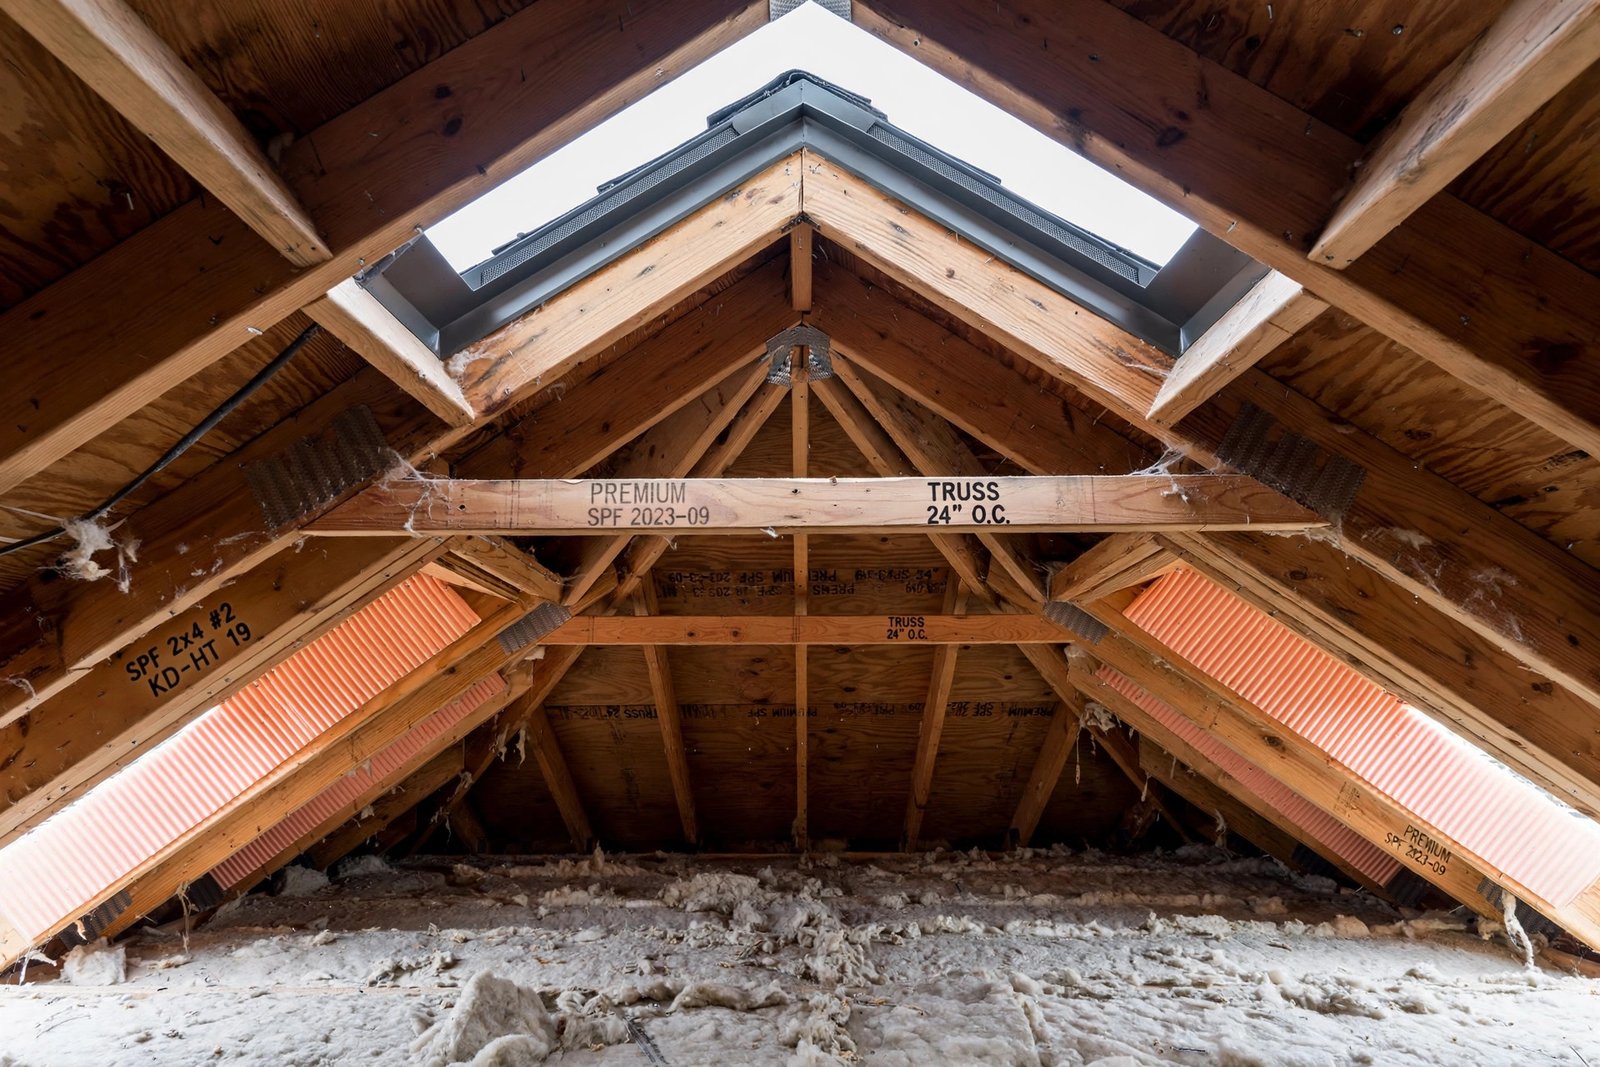
- Insulation depth and coverage. For northern Illinois, the recommended attic insulation level is around R-49. If you can see the ceiling joists through the insulation, or the coverage is thin and uneven, the attic is losing heat — and a warm roof deck is what grows ice dams.
- Ventilation paths open. Soffit vents at the eaves should not be blocked by insulation or painted shut, and the attic should have a working high exhaust — a ridge vent or roof vents. Baffles at each rafter bay keep the intake airway open.
- Stains, dampness, and daylight. Water stains on the decking, damp or compressed insulation, and moldy smells report past leaks. Pinpoints of daylight where they should not be — at joints and penetrations — mark gaps to seal.
- Ceilings below the attic. Finish the pass inside the living space: new brown rings or bubbling paint on top-floor ceilings and walls are the roof’s way of filing a report.
Fix before the freeze, or safe to leave for spring?
Not everything on the list carries the same deadline. Anything that lets water in, traps it, or is getting worse under load belongs in the fix-now column. Cosmetic wear and long-term planning items can wait for spring — with a note on the calendar, not a shrug.
| Fix before the first freeze | Can wait until spring |
|---|---|
| Missing or lifting shingles; cracked vent boots | Early granule loss on an otherwise sound roof |
| Lifting, rusted, or unsealed flashing | Faded or mismatched shingle color |
| Clogged, sagging, or loose gutters | Planning a full replacement for a roof with life left |
| Blocked soffit vents; thin attic insulation | Cosmetic fascia paint (unless the wood is rotting) |
| Any active leak, stain, or sagging section | Upgrades: guards, heat cables, added vents |
The two-or-more rule: If your pass turns up problems in two or more of the four groups — say, lifting shingles and blocked vents — treat it as one system problem, not two chores. That pattern is exactly what a professional inspection is built to sort out.
What a professional fall inspection adds
The homeowner pass catches what eyes can reach. A professional inspection covers the same ground plus the places and tests a homeowner pass cannot:
- On-roof checks of shingle condition, flashing, sealant, and drip edge — up close, not through binoculars.
- An in-attic look at insulation levels, ventilation balance, and the underside of the decking for stains or moisture.
- Gutter fastening, slope, and downspout drainage checked at the ladder line.
- Photos and a written priority list: what to fix now, what to watch, and what a repair or replacement would cost.
It also connects directly to winter. The insulation and ventilation findings from a fall inspection are the same factors that decide whether your home grows ice dams — the subject of our companion guide to ice dam prevention on arreguinc.com. Catching them in October is the whole game.
Get a free fall roof inspection
Call Arreguin Inc at (847) 791-2950 — free estimates for roofing, siding, and gutters across Bensenville, Wood Dale, Addison, Elk Grove Village, and surrounding DuPage County communities.
Frequently asked questions
When is the best month for a fall roof inspection in Illinois?
October is ideal: summer storm wear is visible, most leaves have not yet filled the valleys and gutters, and there is still mild weather left for repairs to set properly. Early November still works if the weather holds.
Can I do the whole inspection myself?
You can do the ground and attic pass in this checklist, and it is worth doing every fall. What it cannot replace is an on-roof look at flashing, sealant, and shingle condition up close — which is why the professional inspection exists, and why Arreguin Inc offers it free.
How long does a professional fall inspection take?
A proper fall inspection takes under an hour for most homes and leaves you with photos and a clear fix-now versus fix-later list.
My roof is only a few years old. Do I still need a fall check?
Yes — a short one. New roofs rarely have wear problems, but vent boots, sealant, gutters, and attic ventilation still need eyes on them, and catching a small installation issue early keeps warranty conversations simple.
What if I find damage — repair or replacement?
Isolated damage on a roof with good years left is a repair. Widespread curling, repeated leaks, sagging decking, or a roof near the end of its service life points toward replacement. The inspection’s job is to tell you honestly which one you are looking at.
Does a fall inspection really prevent ice dams?
It prevents the conditions that cause them: clogged gutters get cleaned, blocked vents get opened, and thin insulation gets flagged before the freeze. Our ice dam guide explains the full prevention list.